News
The possibility of exploring the ATMEGA8A-AU microcontroller and its application in robotics technology
- Source:network
- Release on:2023-02-07
The possibility of exploring the ATMEGA8A-AU microcontroller and its application in robotics technology
ATMEGA8A-AU microcontroller is a powerful multi-functional device that can provide complex control and automation functions for the robot system.This microcontroller can handle complex tasks, such as sensor detection, motor control, and communication with other systems.It also provides programming flexibility that allows users to customize their robots to meet specific needs.With its extensive function, the microcontroller is an excellent choice for the robot system.This article will explore the possibility of Atmega8A-AU microcontroller and its application in robotics.It will discuss the benefits of using this microcontroller, different types of robot applications that can be built, and necessary steps to start.At the end of this article,
The benefits of using ATMEGA8A-AU microcontroller
ATMEGA8A-AU microcontroller is a general device, which means that it can be used for widespread application.This extensive applicability makes it an excellent choice for the robot system.The following discusses some benefits of using Atmega8A-AU microcontroller: -State and wide operating voltage: Atmega8A-AU microcontroller can work in the wide voltage range of 2.0 to 5.5V.It can work in harsh environments and withstand high impact and vibration.These are some of its reasons for being used for space mission.-Low power consumption: ATMEGA8A-AU microcontroller is very low power consumption, suitable for battery power supply system.-Compact size: Atmega8A-AU microcontroller is compact, suitable for systems that require minimum space or no space.- low cost:
Different types of robot applications using Atmega8A-AU microcontroller
ATMEGA8A-AU microcontroller is widely used in robotic systems.Some of the most common applications include: - Robotic arm: Robotic arms are usually used for welding, distribution systems, packaging and pickup systems.ATMEGA8A-AU microcontroller can be used to control the motion of the robotic arm, the sensor for detecting the position of the object, and the actuator used to control the lifting, rotation and movement of the arm.- Robotics: Robotics are widely used in industries such as packaging, assembly and material handling.They can be used to grasp and fixed parts, replace tools, and perform machine maintenance.Atmega8A-AU microcontroller can be used to control the movement of robotics and sensors to detect the position of the object.- Playing the system:Pickled and placed the system to pick up parts from the surface and place them into different containers or areas.ATMEGA8A-AU microcontroller can be used to control the movement of the robotic arm and detect the location of the object position.
Start using the steps of Atmega8A-AU microcontroller
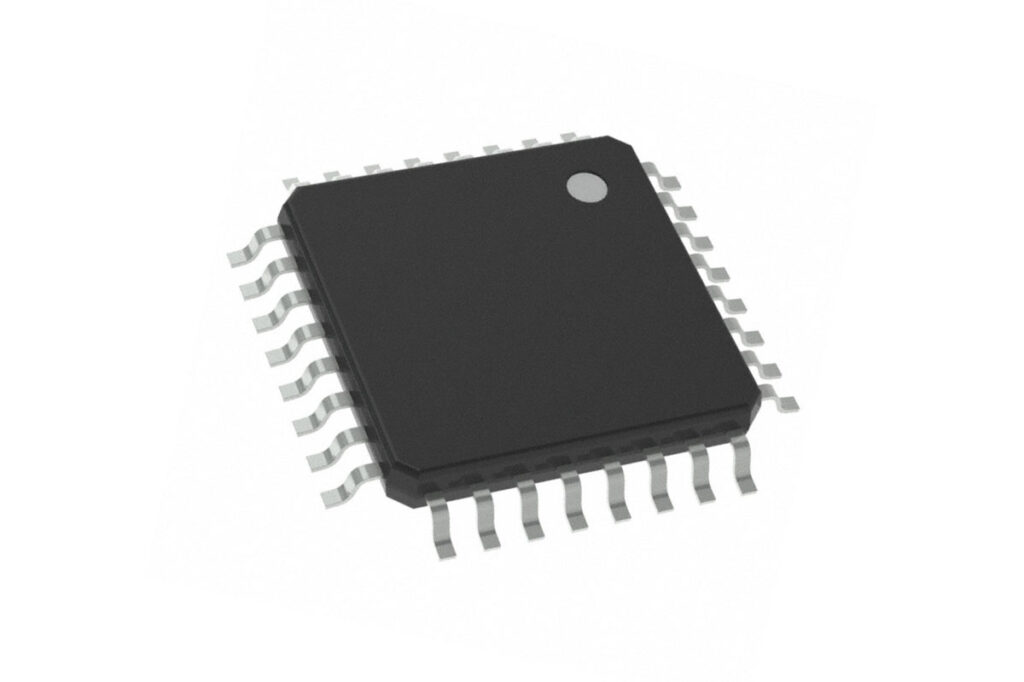
Before starting to use the ATMEGA8A-AU microcontroller, it is important to understand different components and its functions.The following figure shows the components and functions of the Atmega8A-AU microcontroller.- VCC -This pin is the power supply foot, which is used to power the microcontroller and other components connected to the circuit board.- GND -This pin is ground pins.It is used to send and receive signals to other electronic systems.- RESET -The pin is used to reset microcontroller.- MOSI -This pins are used to send data to microcomputers.- SCK -The pins are used to communicate with data communication between the microcontroller and other electronic systems.- Miso - This pin is used to receive data from other electronic systems.- XTAL1 - This pin is used to provide clocks for microcontroller.- XTAL2 - This pin is used to provide clocks for external systems.- Aref - This pin is used to provide reference voltage for the simulation pin of the microcontroller.- GND -This pin is used to send and receive ground signals to other electronic systems.- PWR -The pin is used to power the microcontroller.
Programming atmega8a-AU microcontroller
When programming the ATMEGA8A-AU microcontroller, it is important to understand the basic knowledge of programming and the programming language used.The figure below shows each step of learning and writing Atmega8a-AU microcontroller code:-Select Atmega8a-AU microcontroller: First, select the microcontroller type to be programmed.There are many available chips on the market, each with specific characteristics, functions and applications.Once the type of microcontroller is selected, it is important to ensure that it can be programmed on the system that is being used.- Install IDE: After selecting a microcontroller, the next step is to install the IDE. There are many available IDEs, such as Keil, Codevision, IAR, etc.Choose a version compatible with the operating system used.- Setting item: After installing the IDE, the next step is to set the project.There are two ways to do this -manually or through the predefined options in the IDE.- Writing code: The next step after setting the project is to write code for the project.This can be completed manually, or the code editor is completed.- Compile and upload code: After the code is compiled, it must be compiled and uploaded to the microcontroller.This can be done manually or using the programmer.- Compile and upload code: After the code is compiled, it must be compiled and uploaded to the microcontroller.This can be done manually or using the programmer.- Compile and upload code: After the code is compiled, it must be compiled and uploaded to the microcontroller.This can be done manually or using the programmer.
Testing and debugging atmega8a-A U-microcontroller
After writing the code, the important thing is to test and debug the code to ensure that it works as expected.Tests can be completed in two way -debugging and debugging.Debugging is the process of identifying and deleting the error in the code.It is also called failure exclusion.Debug can be completed by one -step execution or breakpoint.Execute through single steps, and the code is executed at one time, which is easier to identify the problem.The breakpoint is a point in the code, which aims to be suspended when they reach them during execution.You can also use the simulator to test the code.Debugging to ensure that the code is necessary to work as expected before the real system is implemented in the actual system.It is important to test the code to avoid any problems during the implementation process.
Use ATMEGA8A-AU microcontroller to prompt and technique
The following lists some prompts and techniques to use Atmega8A-AU microcontroller:-Make the circuit design as simple as possible: the circuit design should be as simple as possible to avoid the complexity of the code and debugging.Complex design is difficult to understand and debug.- Check the component connection before the circuit. Before the circuit is on, ensure that all components are connected correctly.- Use high -quality microcontroller: It is very important to use high -quality microcontrollers for the project.Low -quality microcontrollers may not be able to provide accurate results or work as expected.- Use high -quality breadboard: Breadplate is an electrical device that is used to establish temporary connections between components in the circuit.